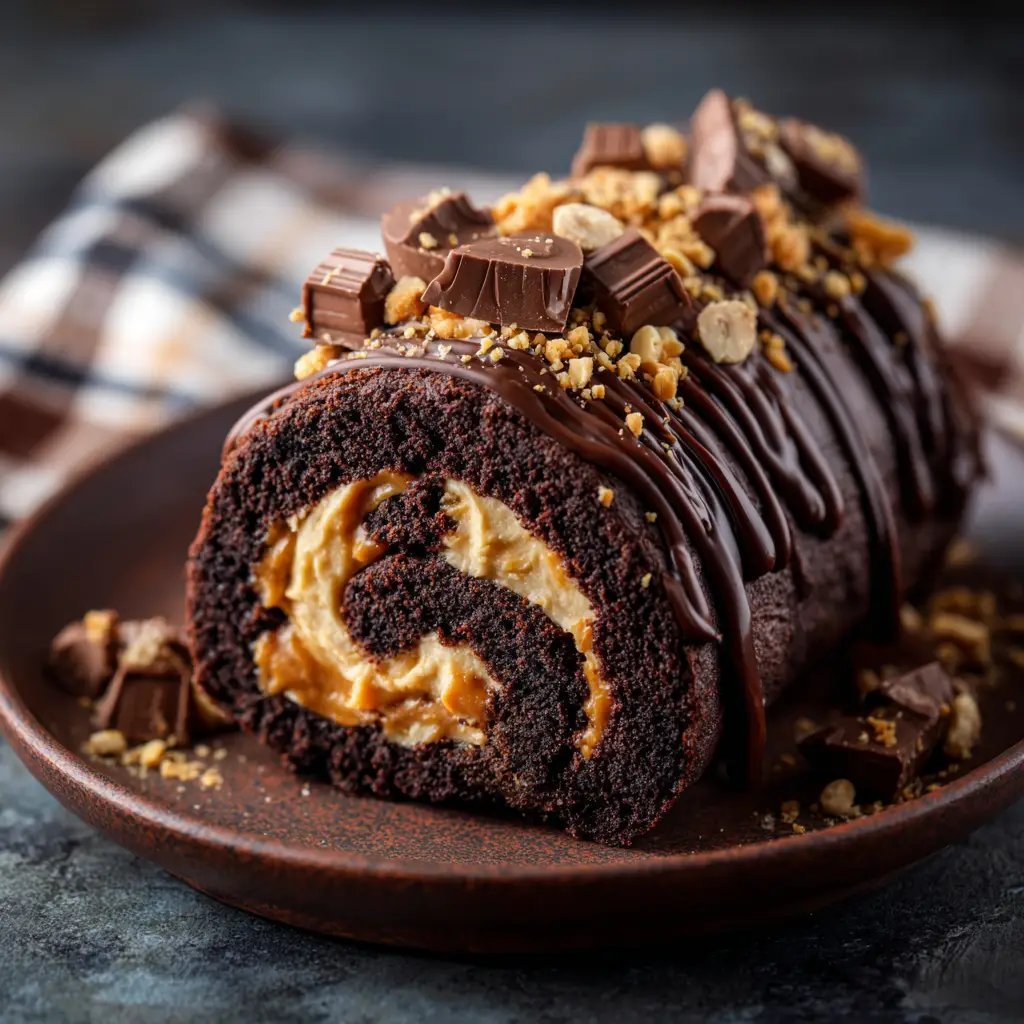
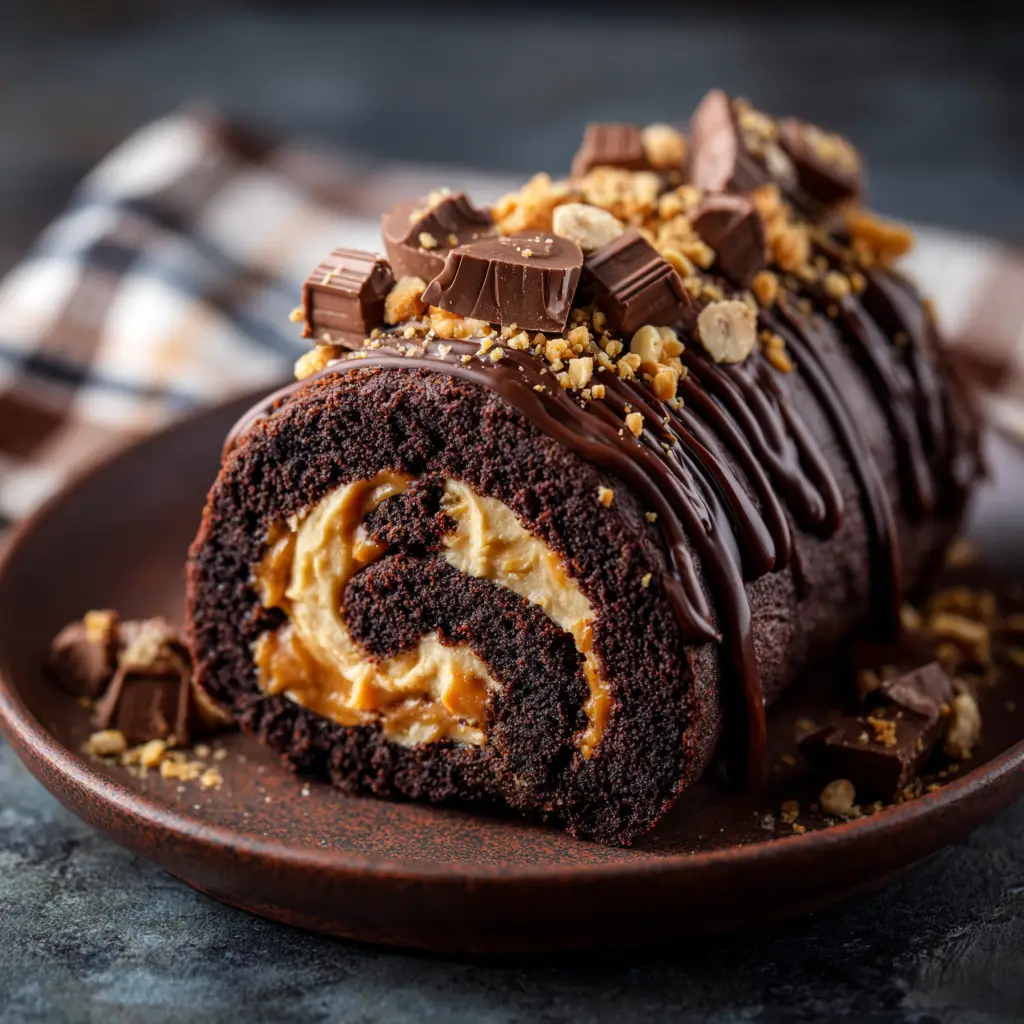
Peanut Butter Cup Chocolate Roll with Chocolate Sponge
By Victor Lang
Prep
25 min
Cook
15 min
Total
40 min
Servings
12
Level
Medium
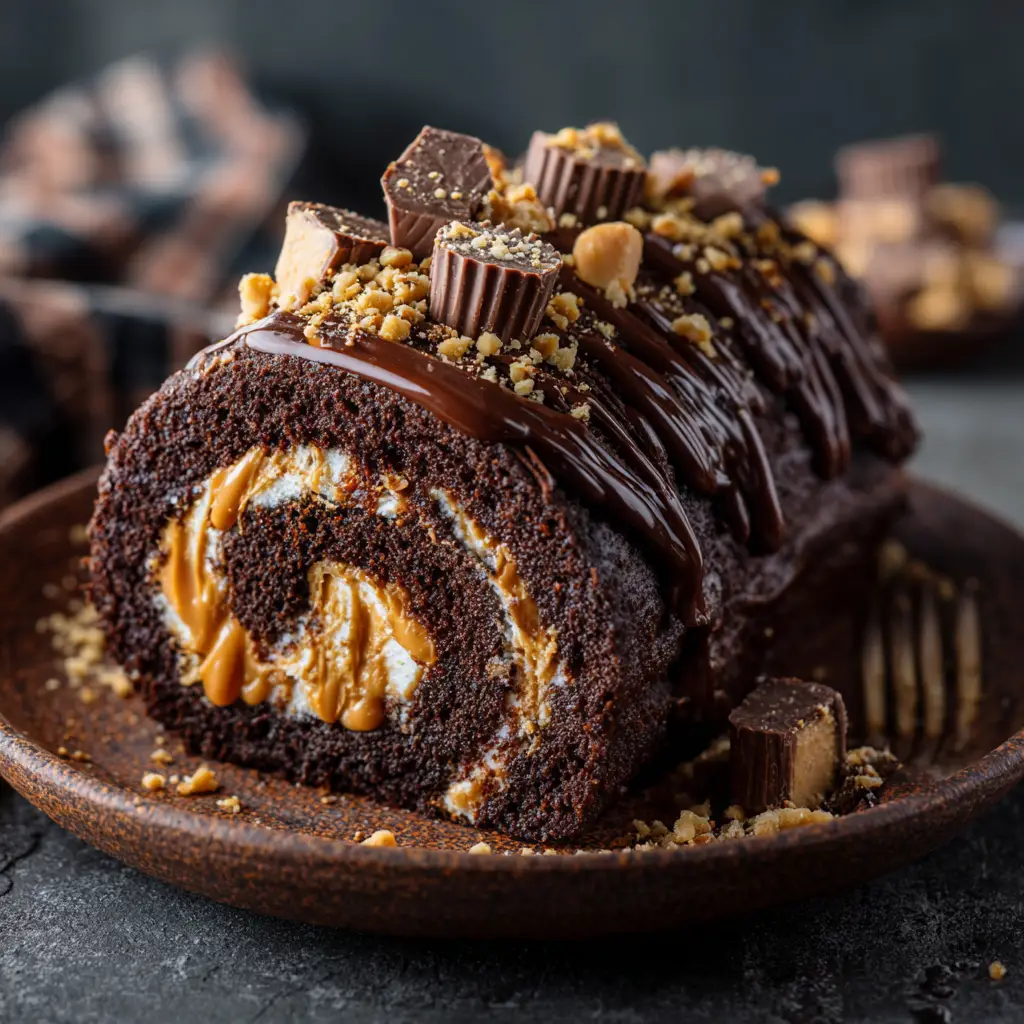
Peanut butter should be smooth and spreadable, with no dry, crumbly layer in the jar, to mix well with cream cheese and help peanut butter cup pieces adhere to chocolate cake. A layer of peanut butter should be visible in the final peanut butter cup chocolate roll.
Room-temperature eggs need to be whipped rapidly with sugar to create a light, fluffy batter three times the volume of the eggs in the mixing bowl. Dry ingredients are added gradually before the butter and vanilla are mixed in until no longer visible. Excessive mixing can reduce the airiness and elasticity of the sponge.
After the cake has cooled in its rolled shape, add the filling to the cake, leaving a small portion of the cake unfilled after rolling to avoid spillage when you roll the cake again. Add chopped candies during the last step so that pieces of the candies show in cake slices. I like this approach.
Chill the wrapped roll for at least 2 hours or until firm enough to cut. Cut the roll while cold with a sharp knife. I include additional cocoa powder or melted chocolate topping only for appearance. The roll's edges have additional filling, which may make it easier to cut the first piece.
Why you'll love this recipe
- The peanut butter layer contains one cup of peanut butter, so its taste does not disappear behind the cocoa cake.
- Chopped peanut butter cups hold their shape when added to the cake filling and are visible in every bite of the cake.
- Four eggs provide enough lift to roll the sponge around a thick layer of filling.
- Unsweetened natural cocoa provides chocolate flavor in addition to peanut butter flavor in the cake.
- A small amount of melted butter is included in the batter to give the cake a softer, more pliable texture.
- Cream cheese filling helps hold candy pieces in place when slicing, including very thin slices.
Ingredients
- •¾ cup all-purpose flour
- •¼ cup unsweetened cocoa powder
- •1 teaspoon baking powder
- •¼ teaspoon salt
- •4 large eggs (room temperature)
- •¾ cup granulated sugar
- •¼ cup butter (melted)
- •1 teaspoon vanilla extract (for the cake)
- •powdered sugar (for dusting)
- •8 oz cream cheese (softened)
- •1 cup creamy peanut butter
- •1 cup powdered sugar (for the filling)
- •¼ cup milk
- •1 teaspoon vanilla extract (for the filling)
- •1 cup peanut butter cups (chopped)
Instructions
- 1
Preheat the oven to 375°F (190°C). Grease a 15×10-inch jelly roll pan, line it with parchment paper leaving an overhang on the sides, then grease the parchment.
- 2
Whisk the flour, cocoa powder, baking powder, and salt together in a medium bowl.
- 3
Beat the eggs and granulated sugar in a large bowl with an electric mixer on high speed for 5-7 minutes, until pale, thick, and tripled in volume.
- 4
Gently fold the dry mixture into the egg mixture in three additions. Fold in the melted butter and 1 teaspoon vanilla extract until just combined.
- 5
Pour the batter into the prepared pan and spread it into an even layer. Bake for 12-15 minutes, until the top springs back when lightly touched.
- 6
Dust a clean kitchen towel generously with powdered sugar while the cake bakes. Immediately invert the hot cake onto the towel, peel off the parchment, then roll it from a short end with the towel inside. Let it cool completely while rolled.
- 7
Beat the softened cream cheese and creamy peanut butter in a large bowl until smooth and combined.
- 8
Gradually beat in 1 cup powdered sugar. Add the milk and remaining 1 teaspoon vanilla extract, then beat until the filling is light and fluffy.
- 9
Gently fold in the chopped peanut butter cups.
- 10
Unroll the cooled cake. Spread the filling evenly over the cake, leaving a small border around the edges.
- 11
Roll the cake again without the towel. Wrap it tightly in plastic wrap and refrigerate for at least 2 hours, or until firm.
- 12
Unwrap, slice, and serve. Dust with more cocoa powder or drizzle with melted chocolate if desired.
FAQ
Nutrition (per serving)
Calories
450
Reviews
Pin this recipe
Tap an image to save it to Pinterest.